How to Open a Cluster Console Session on Gita?
This Standard Operating Procedure (SOP) aims to guide users on how to access a cluster's console within the Gita platform, allowing direct manipulation of the environment via command line.
1. Objective
The cluster console allows the execution of administrative and monitoring commands directly on the platform, facilitating the management of cluster resources.
2. Accessing the Console
- Access the Gita platform and log in with your credentials.
- Choose the organization where the desired cluster is located.
- Select the cluster you want to connect to.
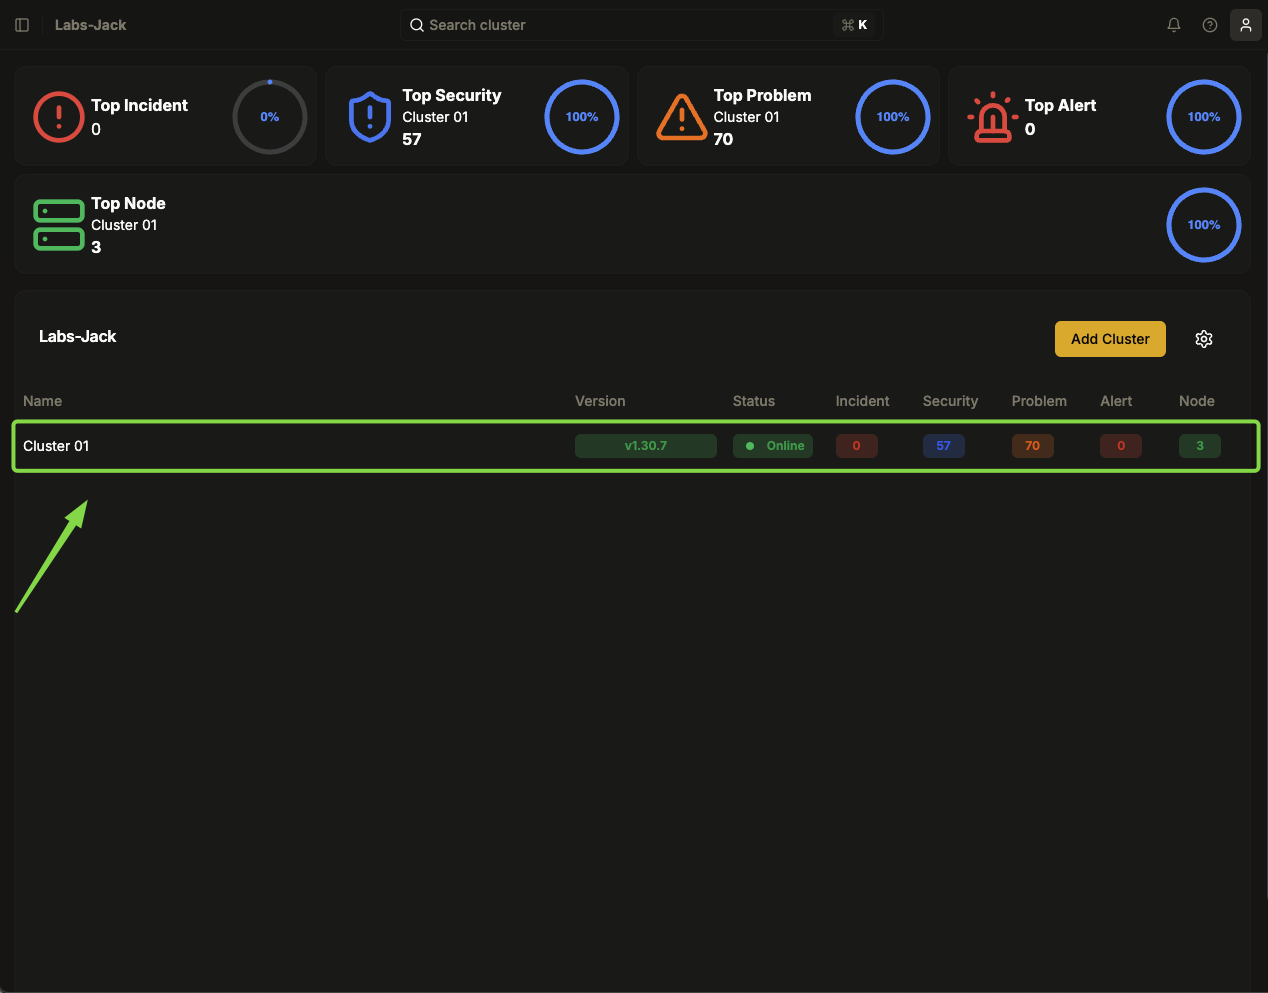
Figure 01: Panel - Organization's main page
- In the top right corner of the interface, locate the console icon (represented by a terminal).
- Click on the console icon to open a new tab at the bottom of the screen.
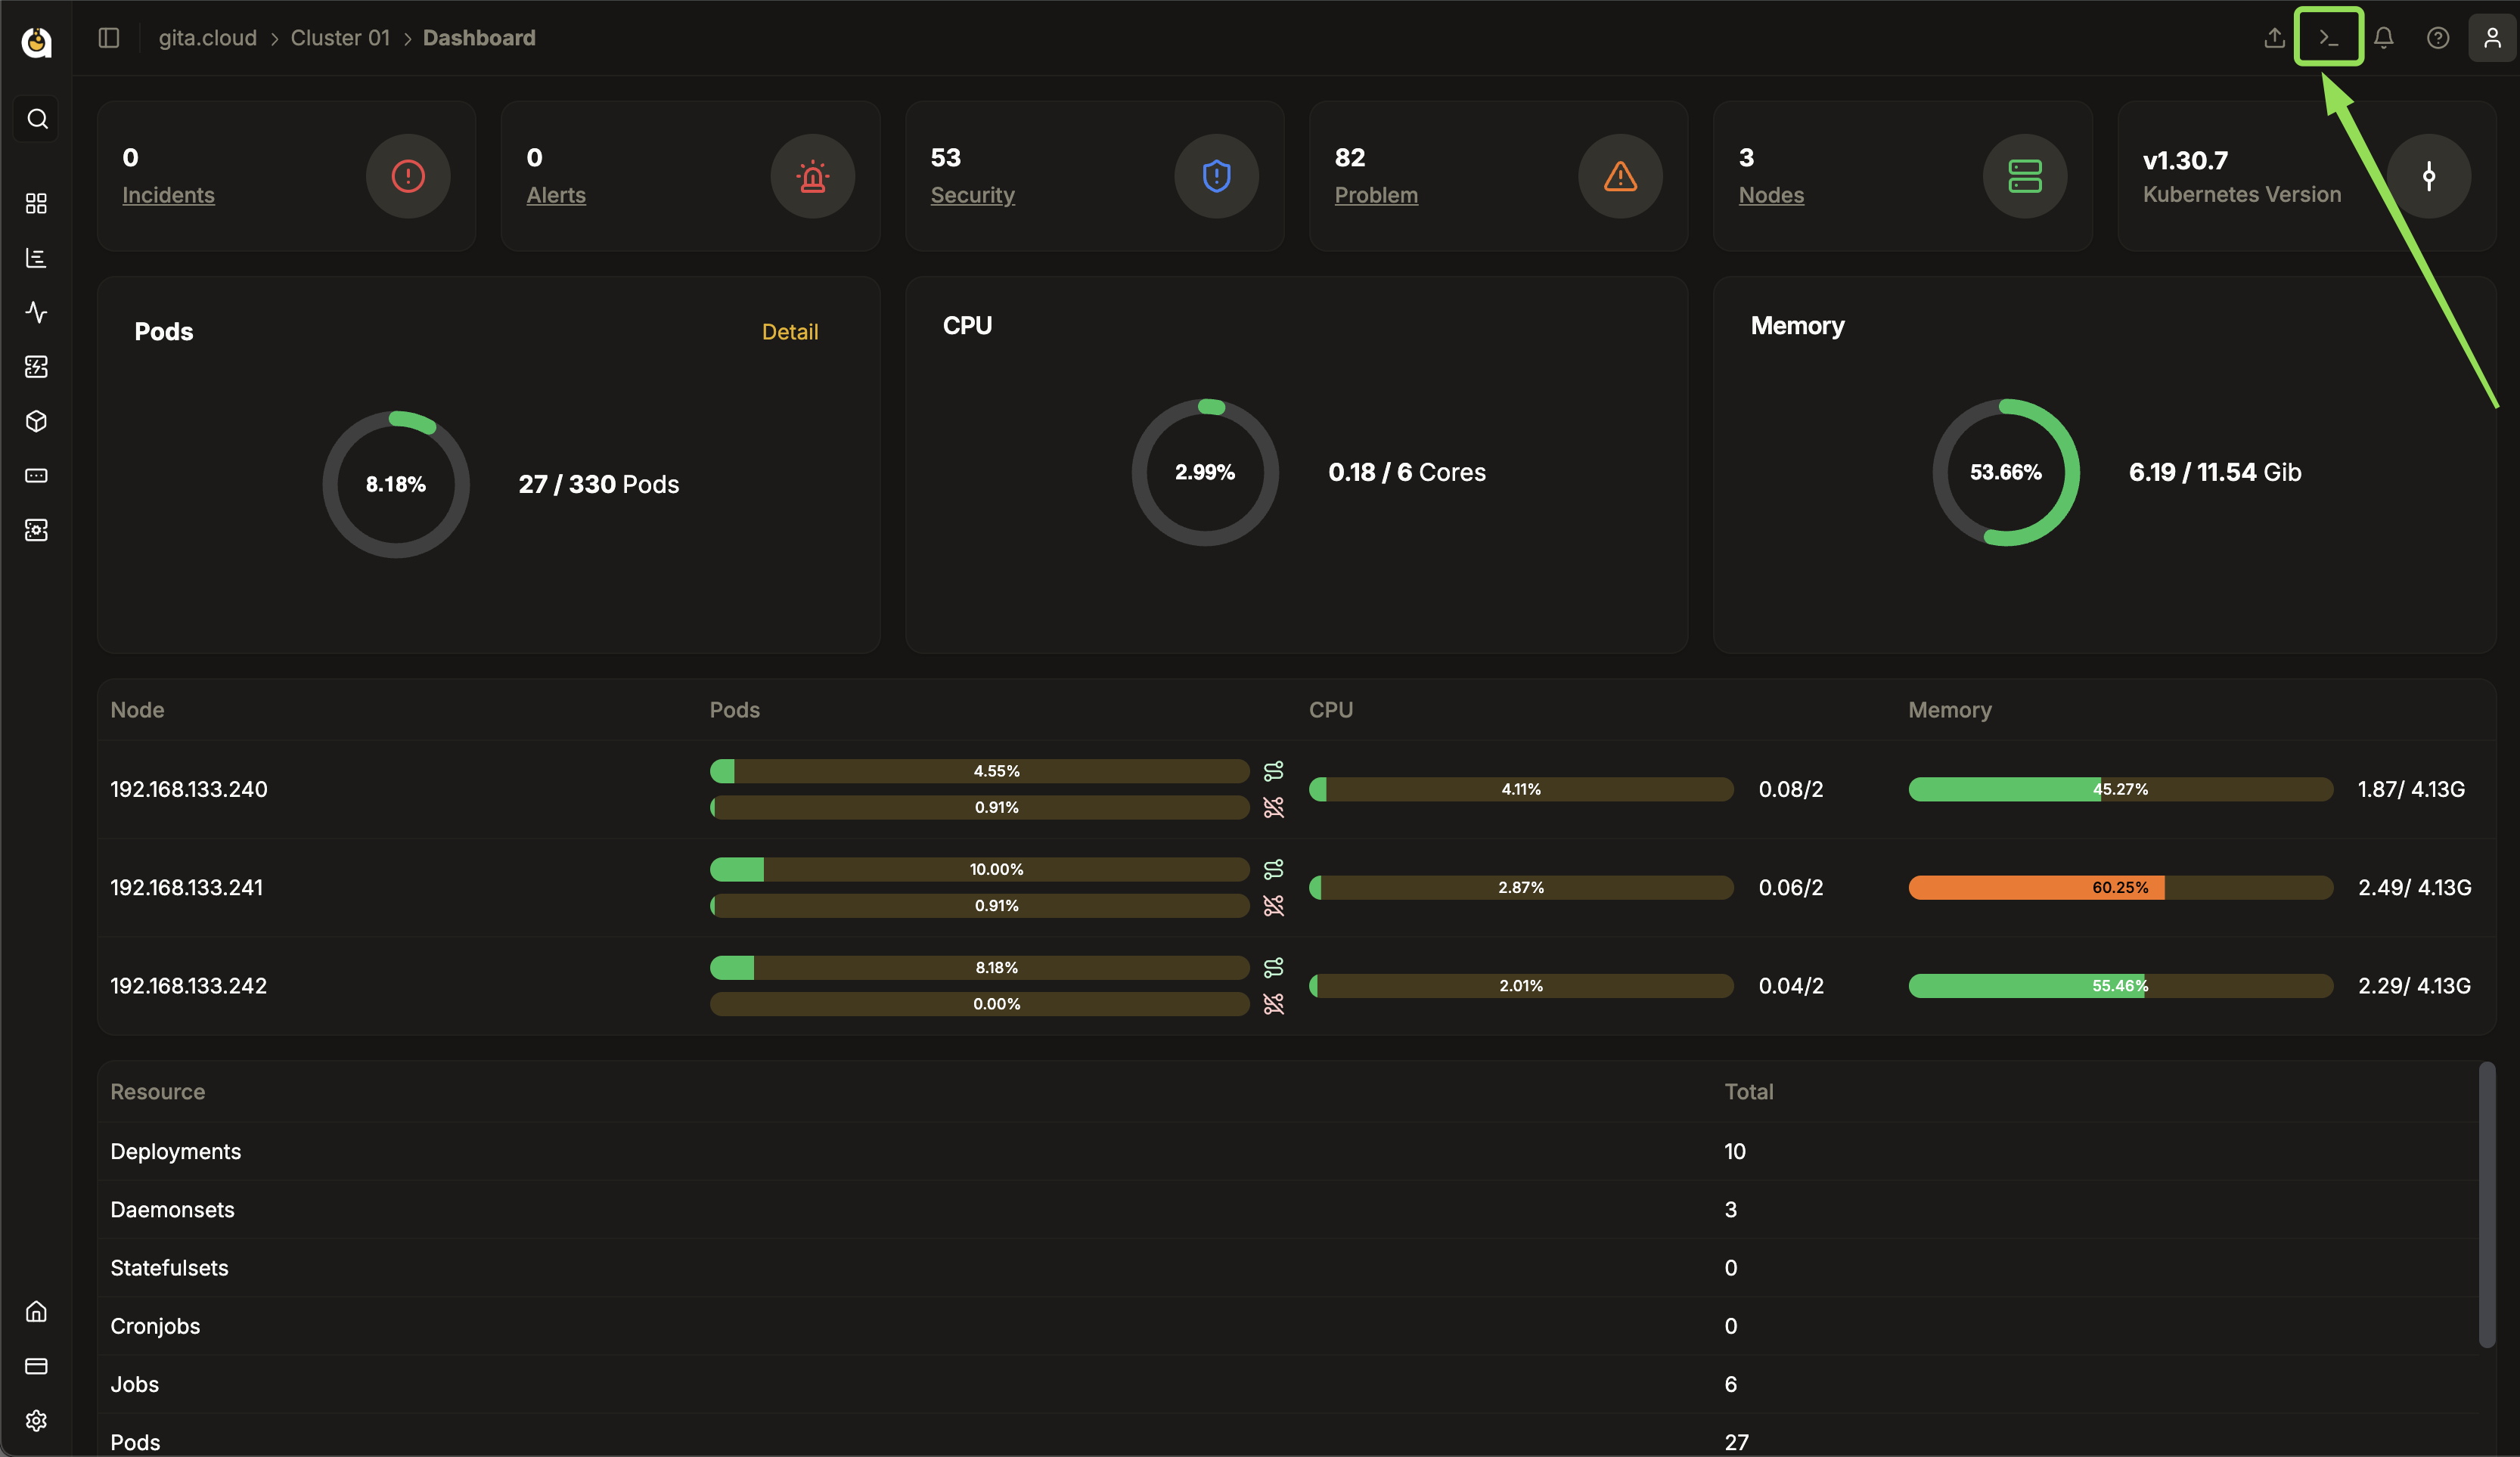
Figure 02: Highlight - Console button
- Now, the console tab will be available for cluster management.
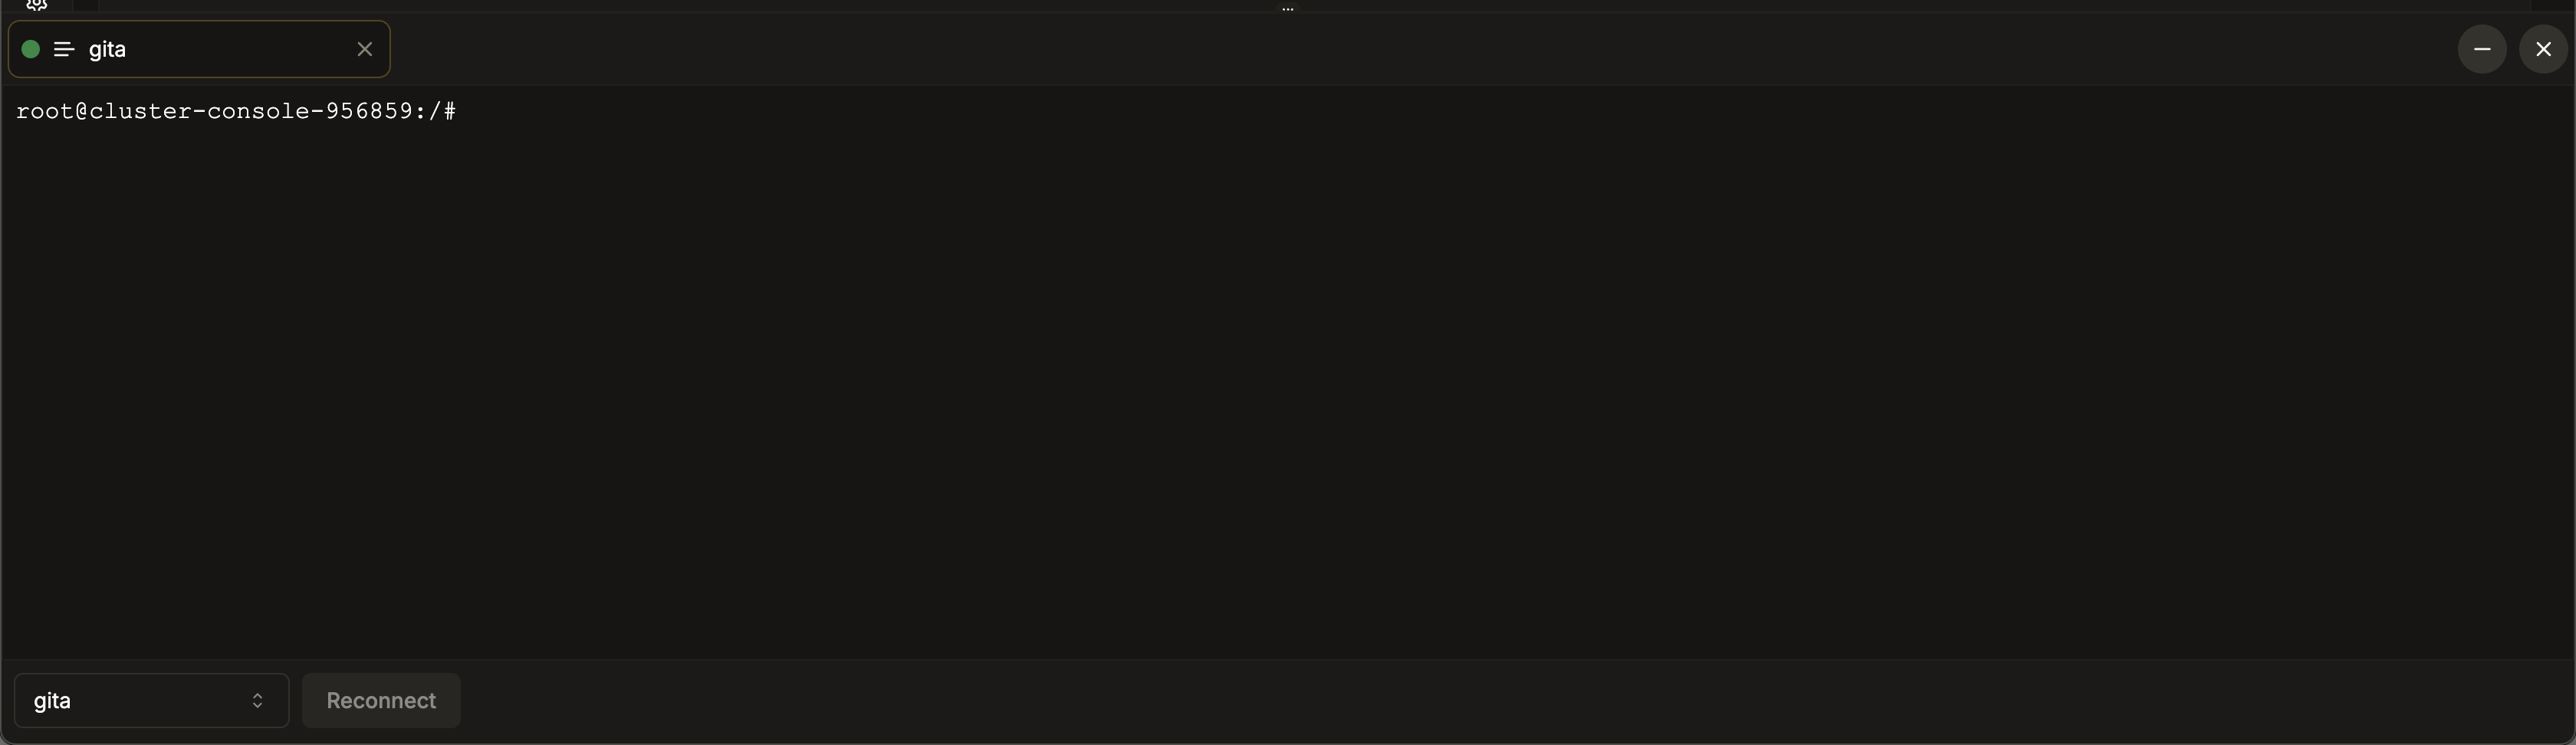 Figure 03: Panel - Cluster console
3. Executing Commands in the Console
-
After opening the console, use commands to interact with the cluster.
-
For example, to list pods in the default namespace, use the following command:
kubectl get pods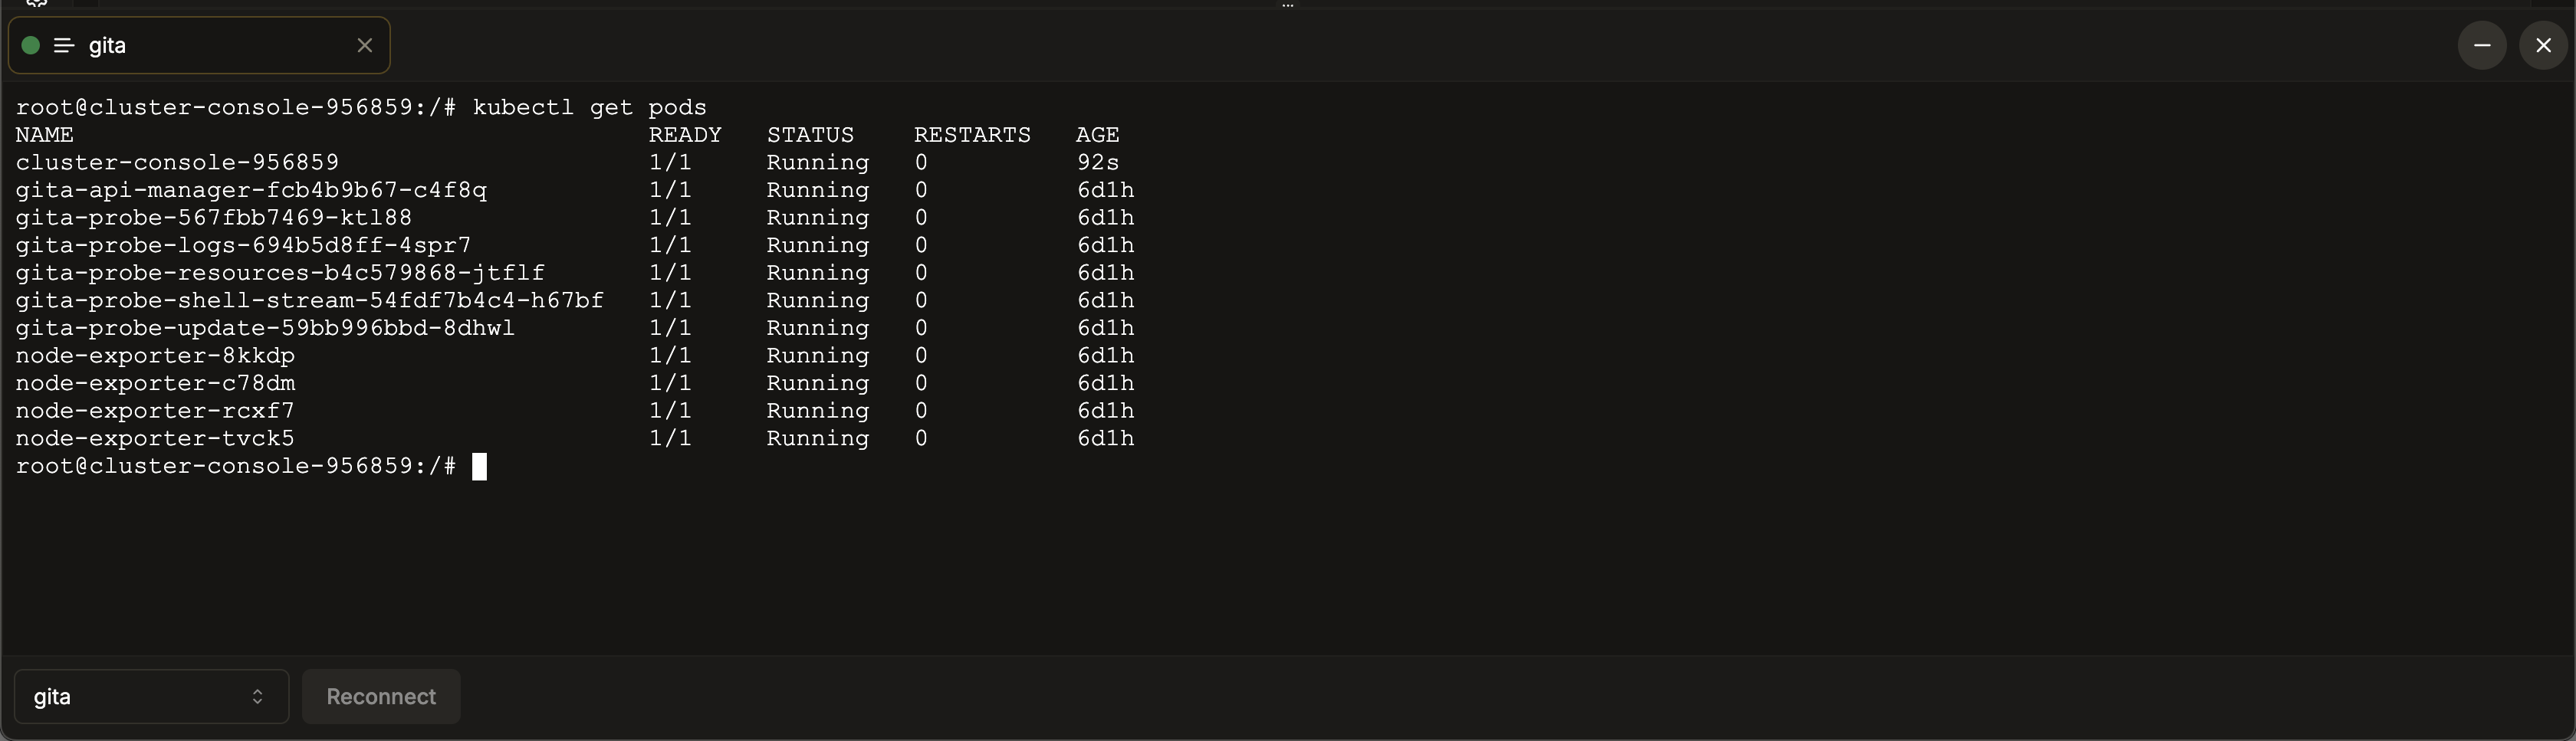
Figure 04: Console - Command execution
-
To exit the console, simply close the tab in the interface by clicking the X
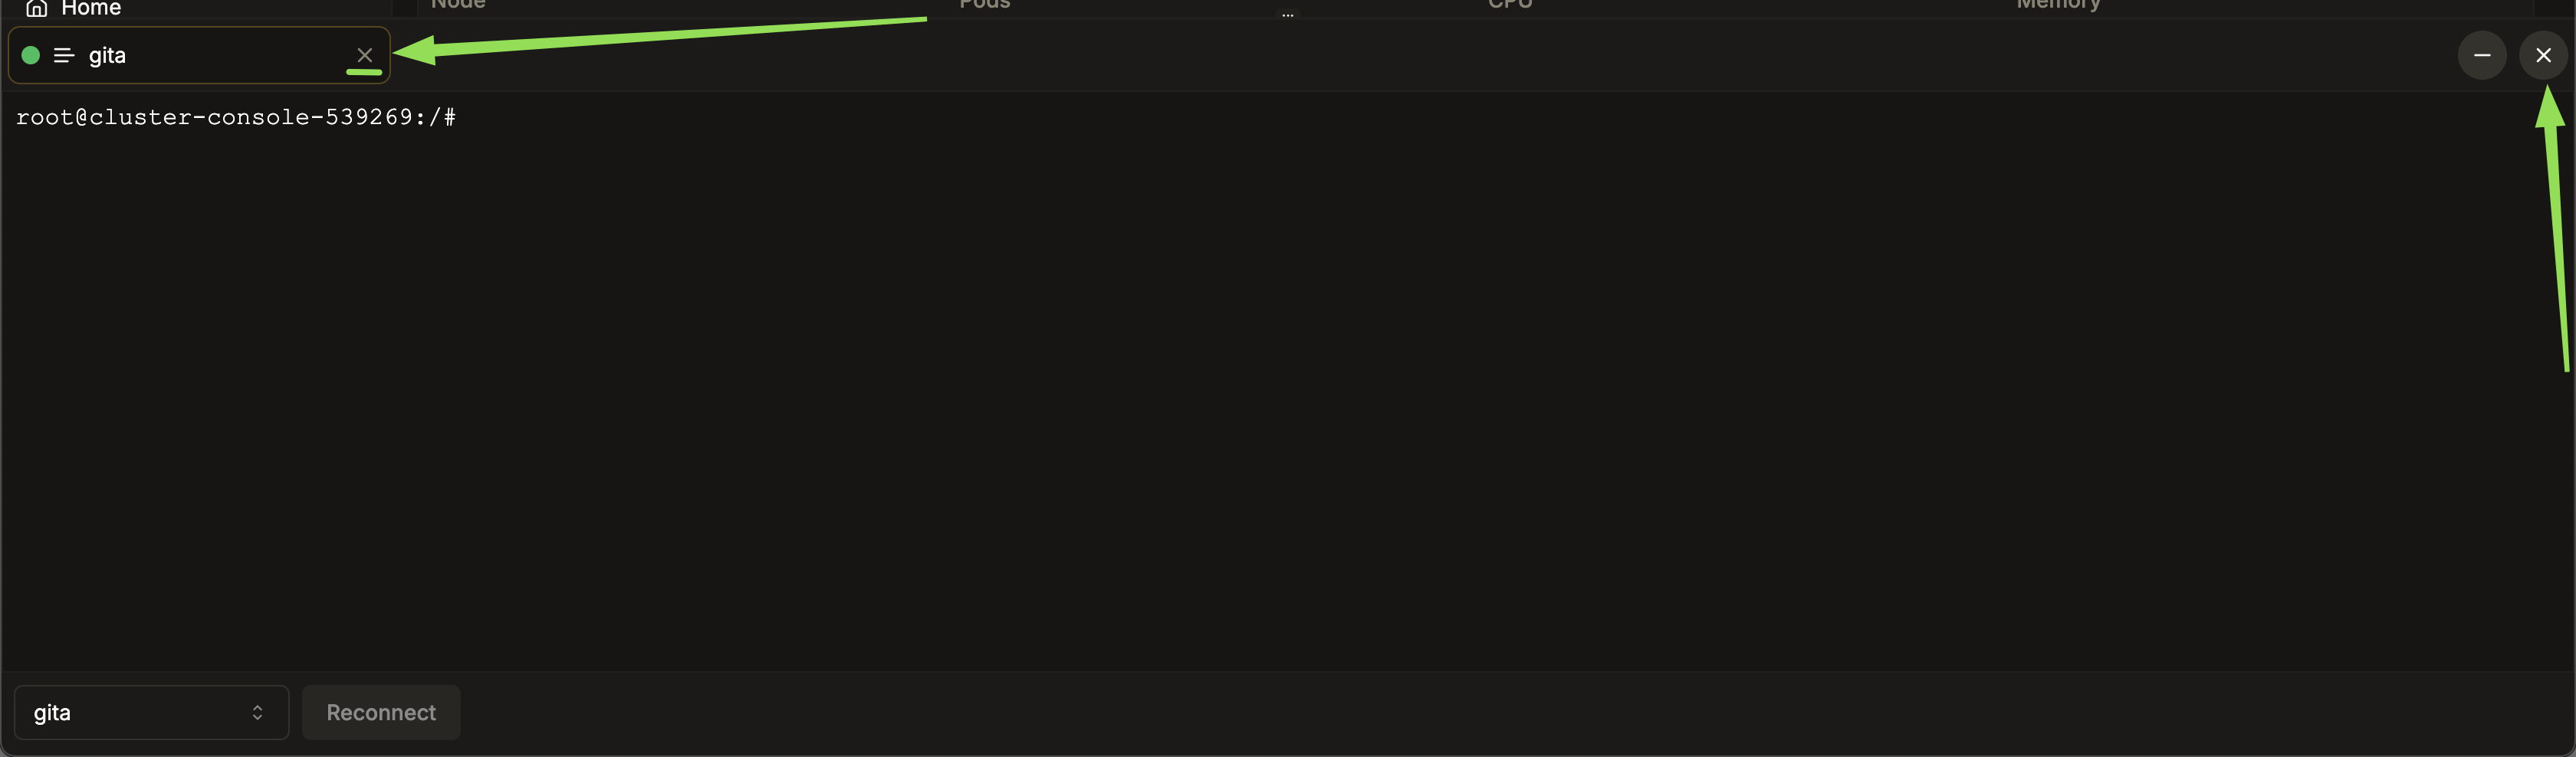
Figure 05: Console
4. Important Notes
- Make sure you have the appropriate permissions to access the console and execute commands in the cluster.
- Check your network connectivity, as connection issues may prevent the console from opening.
- Use commands with caution, as actions such as deleting pods can impact cluster operation.
- For more information about available commands, consult the official Kubernetes documentation or use
kubectl --help.