Creating a Custom Rule
This Procedure describes how to create a custom rule.
Rules are policies configured in the cluster to ensure good practices for configuration, security and resource allocation. They help maintain a stable, secure environment in accordance with Kubernetes recommendations.
Creating a Custom Rule
-
Access the system interface.
-
Choose the organization where you want to create the rule.
-
Select the corresponding cluster.
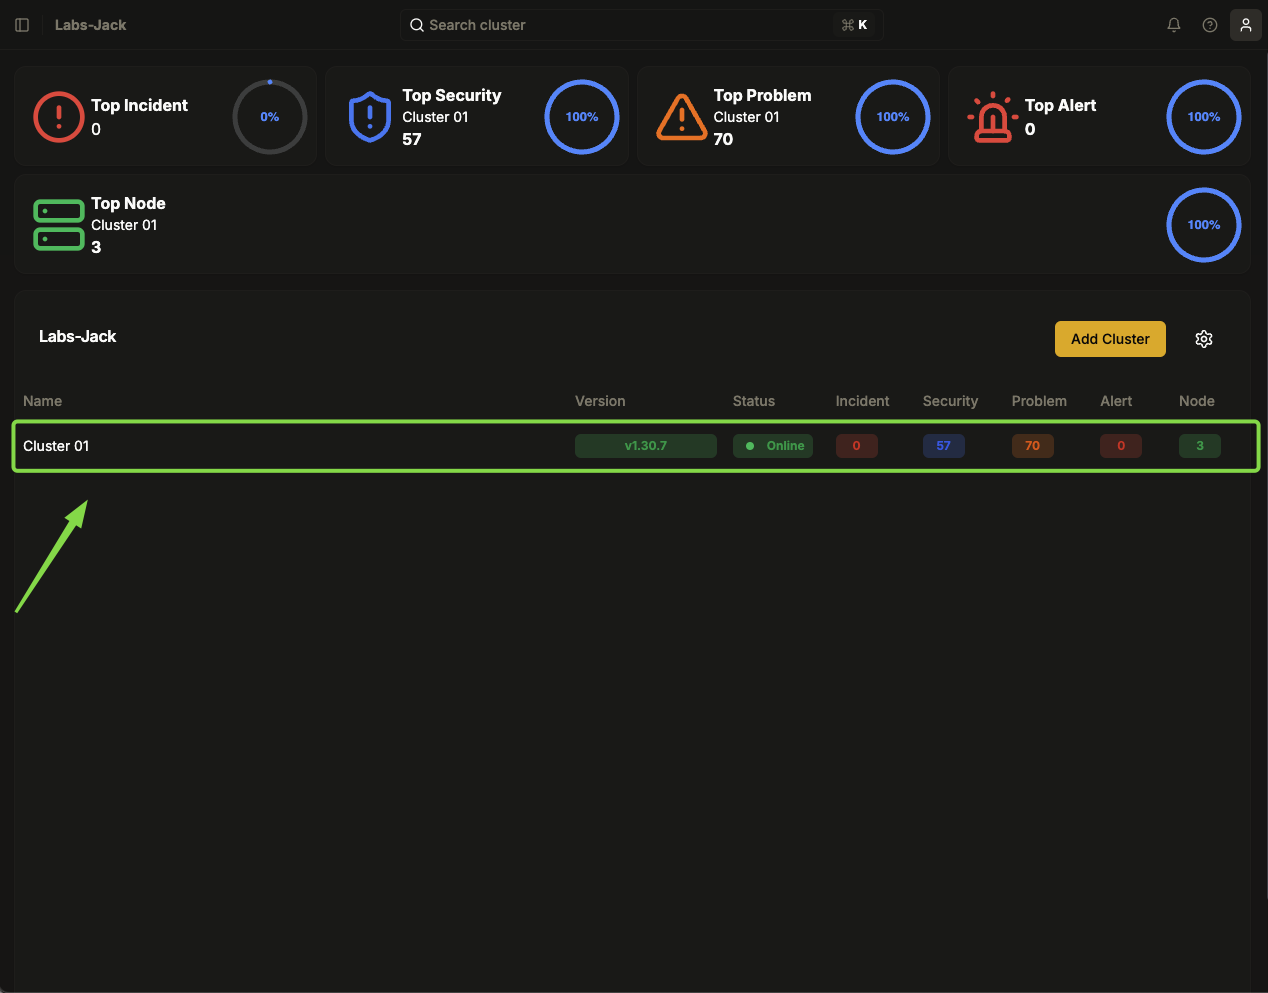
Image 01: Main panel - Cluster
-
In the top left menu, go to Configuration → Rules.
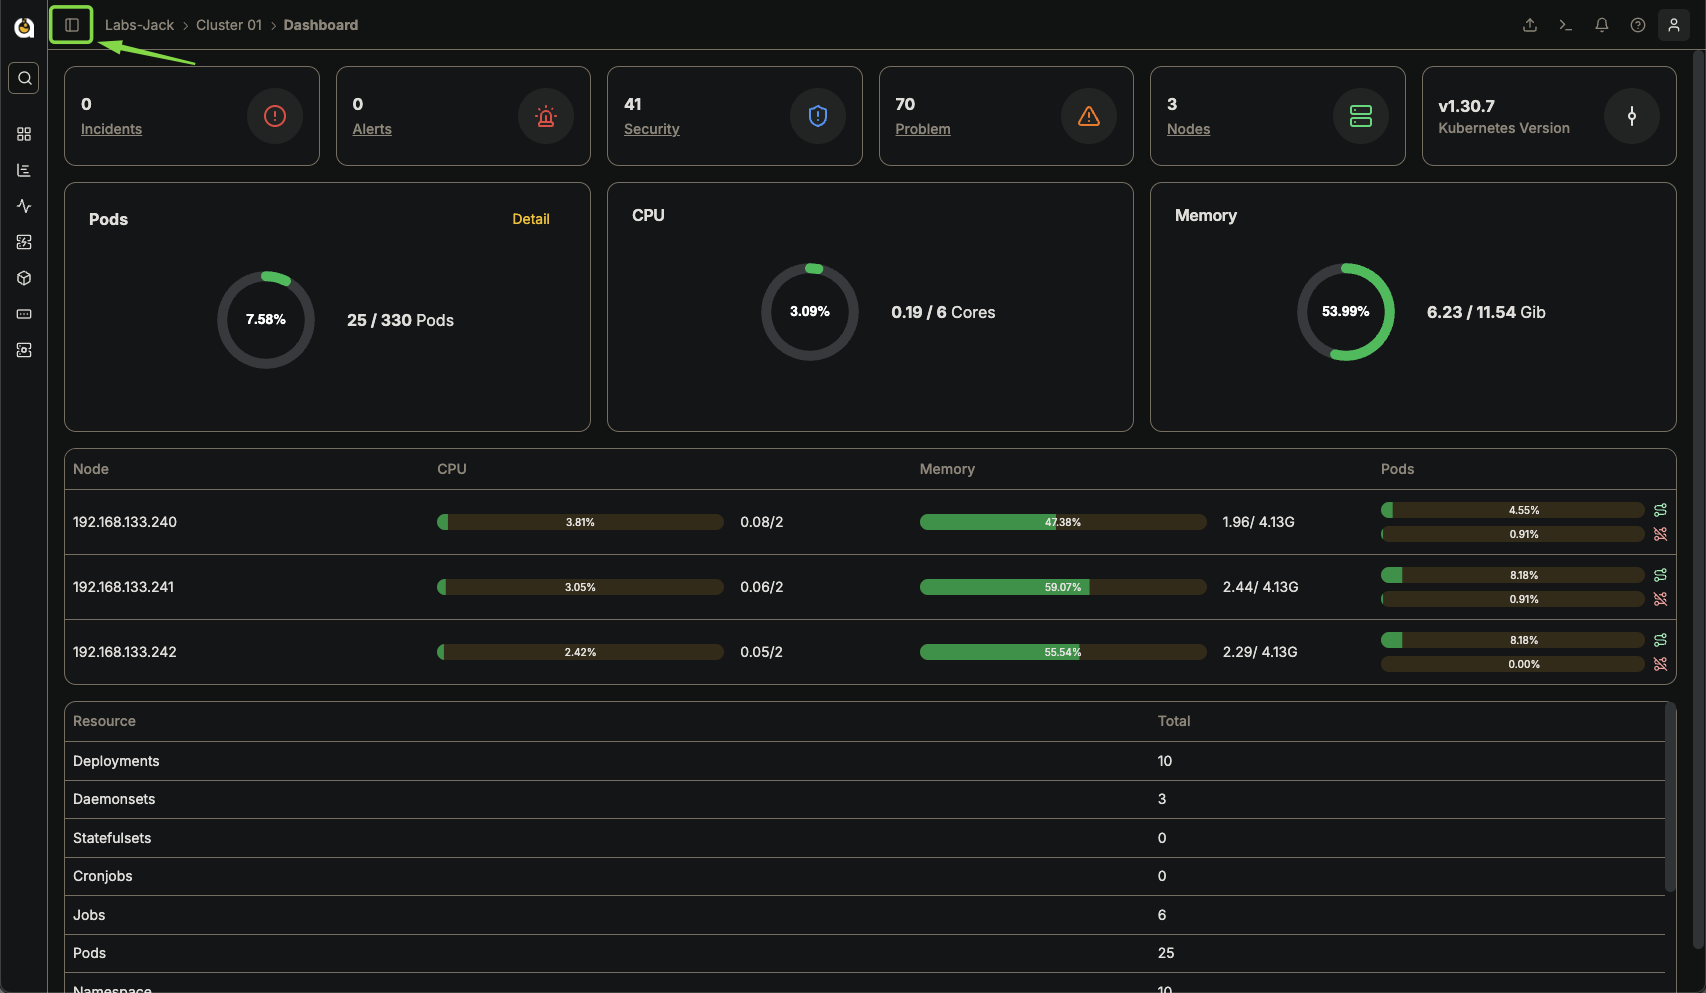
Image 02: Main panel - Highlight 'Sidebar Access'
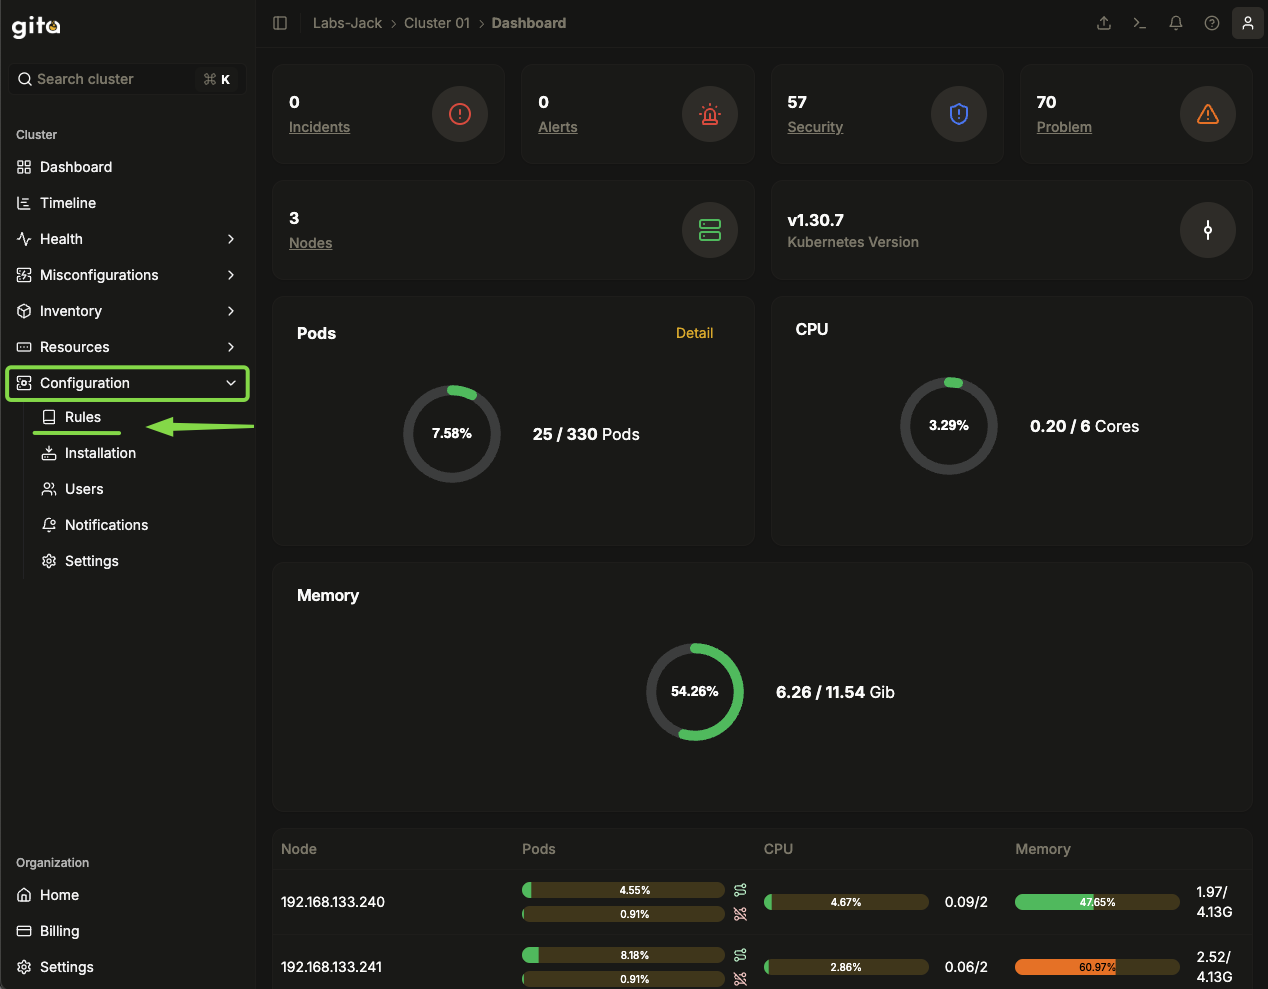
Image 03: Main panel - Settings
-
Click on Create Rule.
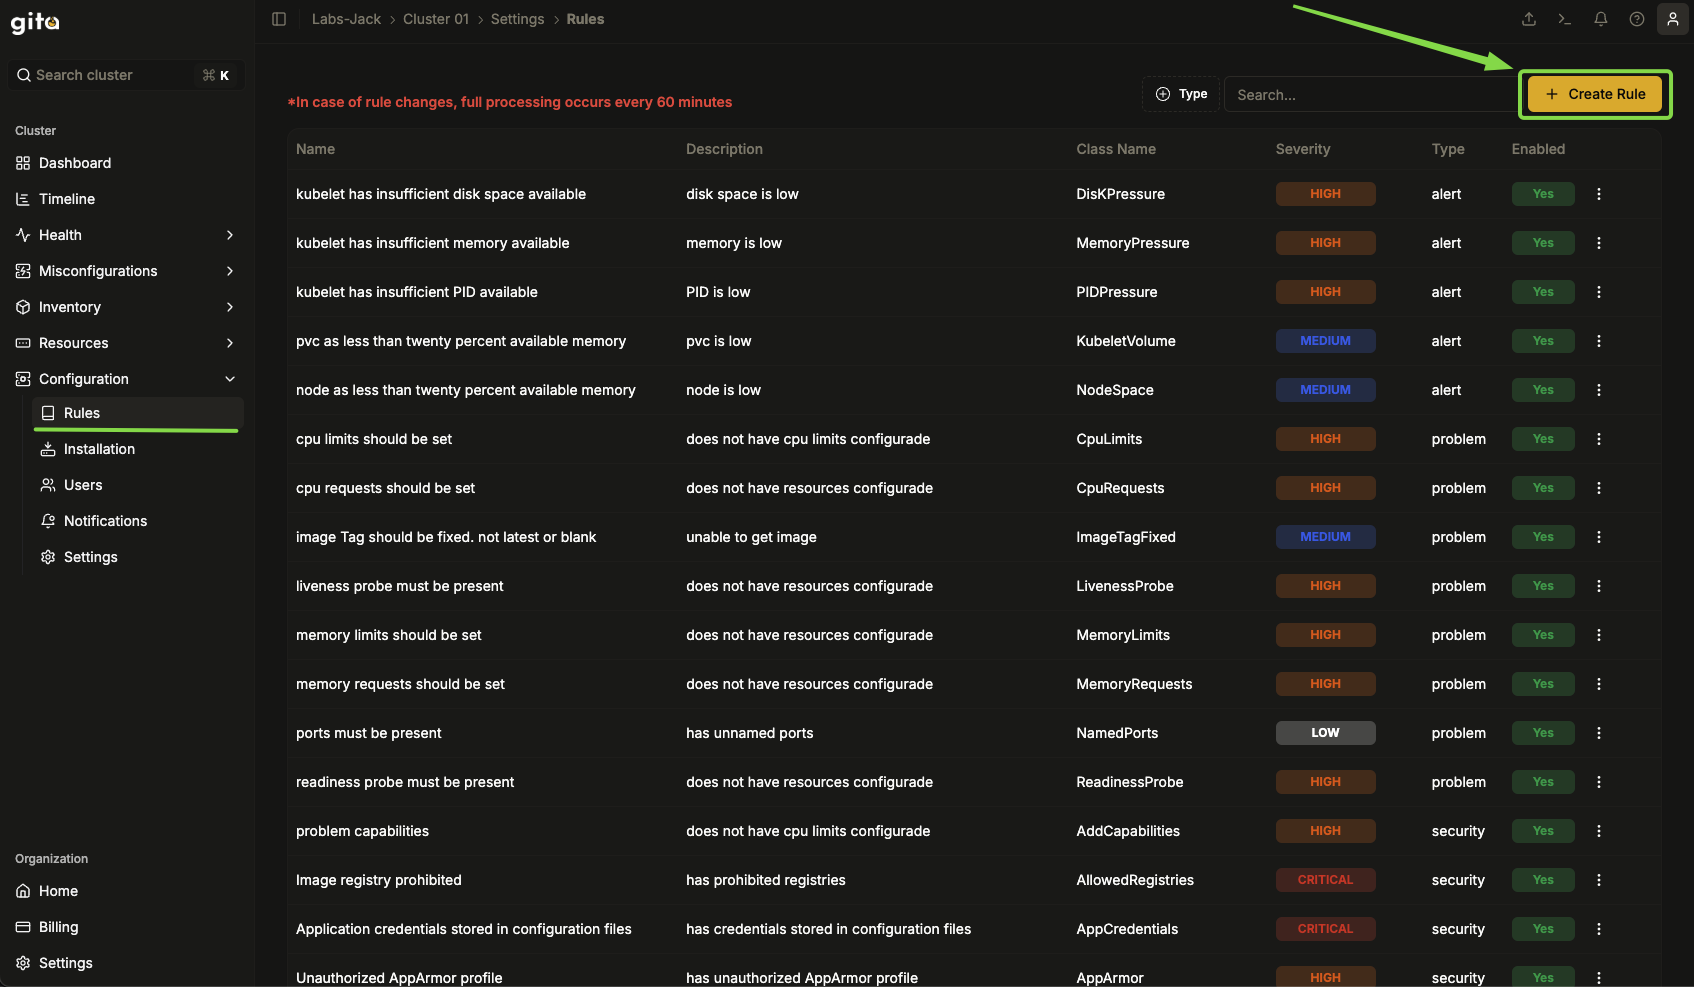
Image 04: Settings - Highlight 'Rules'
-
Choose the customizable template (generic check) in the search engine or the filter to create the rule.
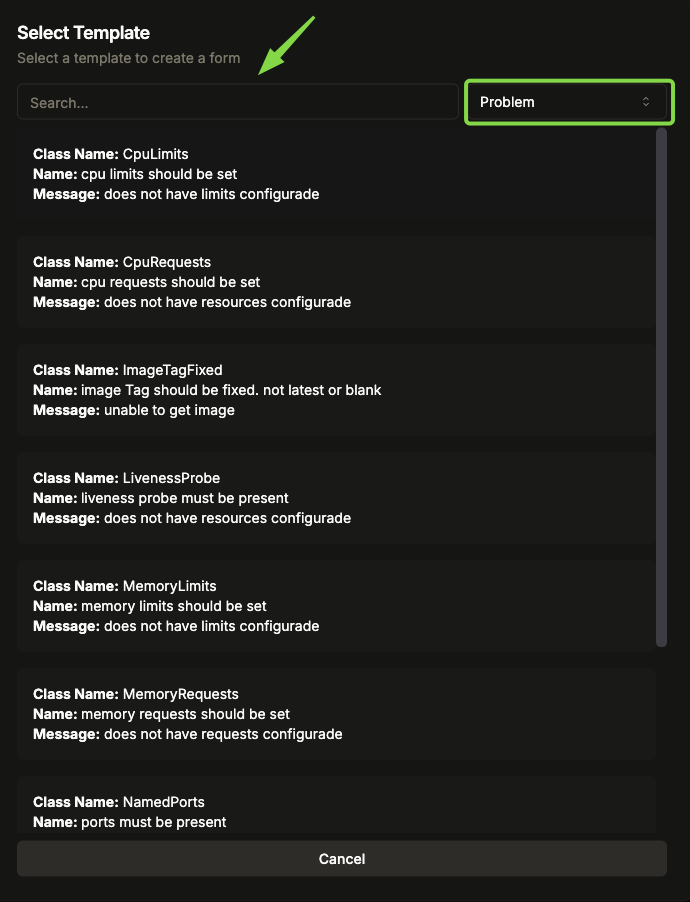
Image 05: Settings - Rule Templates
-
The template configuration options are shown, click Select to continue or Previous to return to the previous template selection menu.
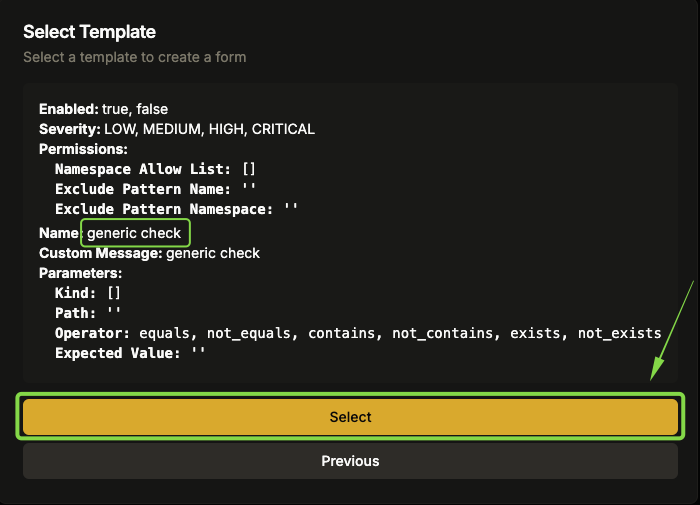
Image 06: Settings - Rule information
-
If you need to change the template after selection, click on Change Template.

Image 07 Settings - Highlight 'Change Template':
-
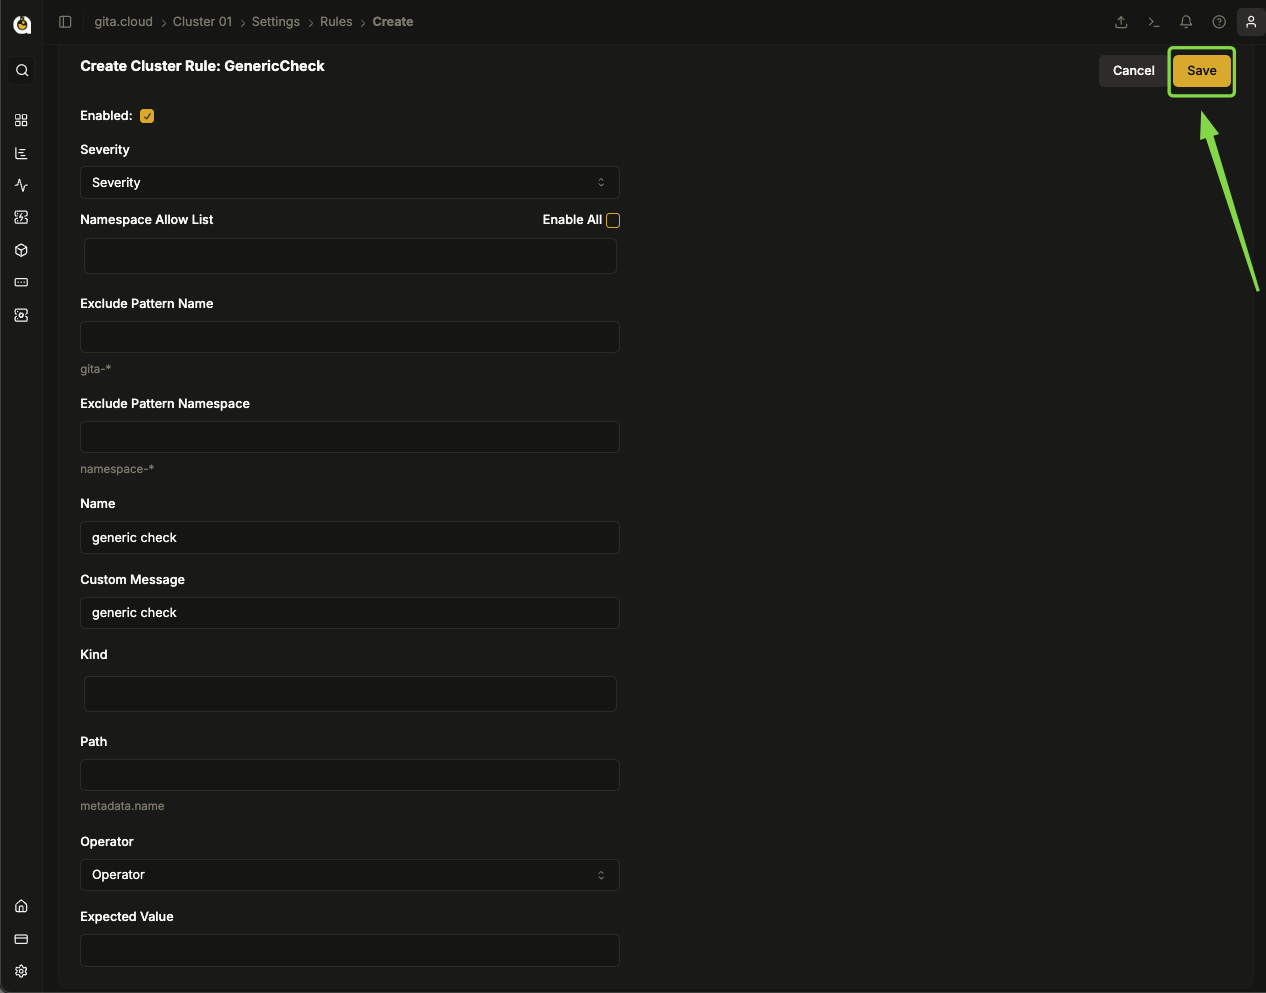
Fill in the fields:
- Enable: Defines whether the rule will be active or not.
- Severity: Represents the severity level of the rule, which can range from LOW (Low) to CRITICAL (Critical).
- Namespace Allow List: Defines which namespaces can be affected by this rule.
- Exclude Pattern Name: Allows excluding specific resources from rule application.
- Exclude Pattern Namespace: Allows excluding specific namespaces from rule application.
- Name: Descriptive name for the rule.
- Custom Message: Message that will be displayed when the rule is violated.
- Kind: The type of Kubernetes resource to which the rule will be applied (e.g., Pod, Deployment, Service).
- Path: Specific path in the resource manifest where the rule will be applied
- Operator: Logical operator used to evaluate the rule
- Expected Value: The expected value in the field defined by Path.
-
After reviewing, click on Save
Image 08: Settings - Highlight 'Save'
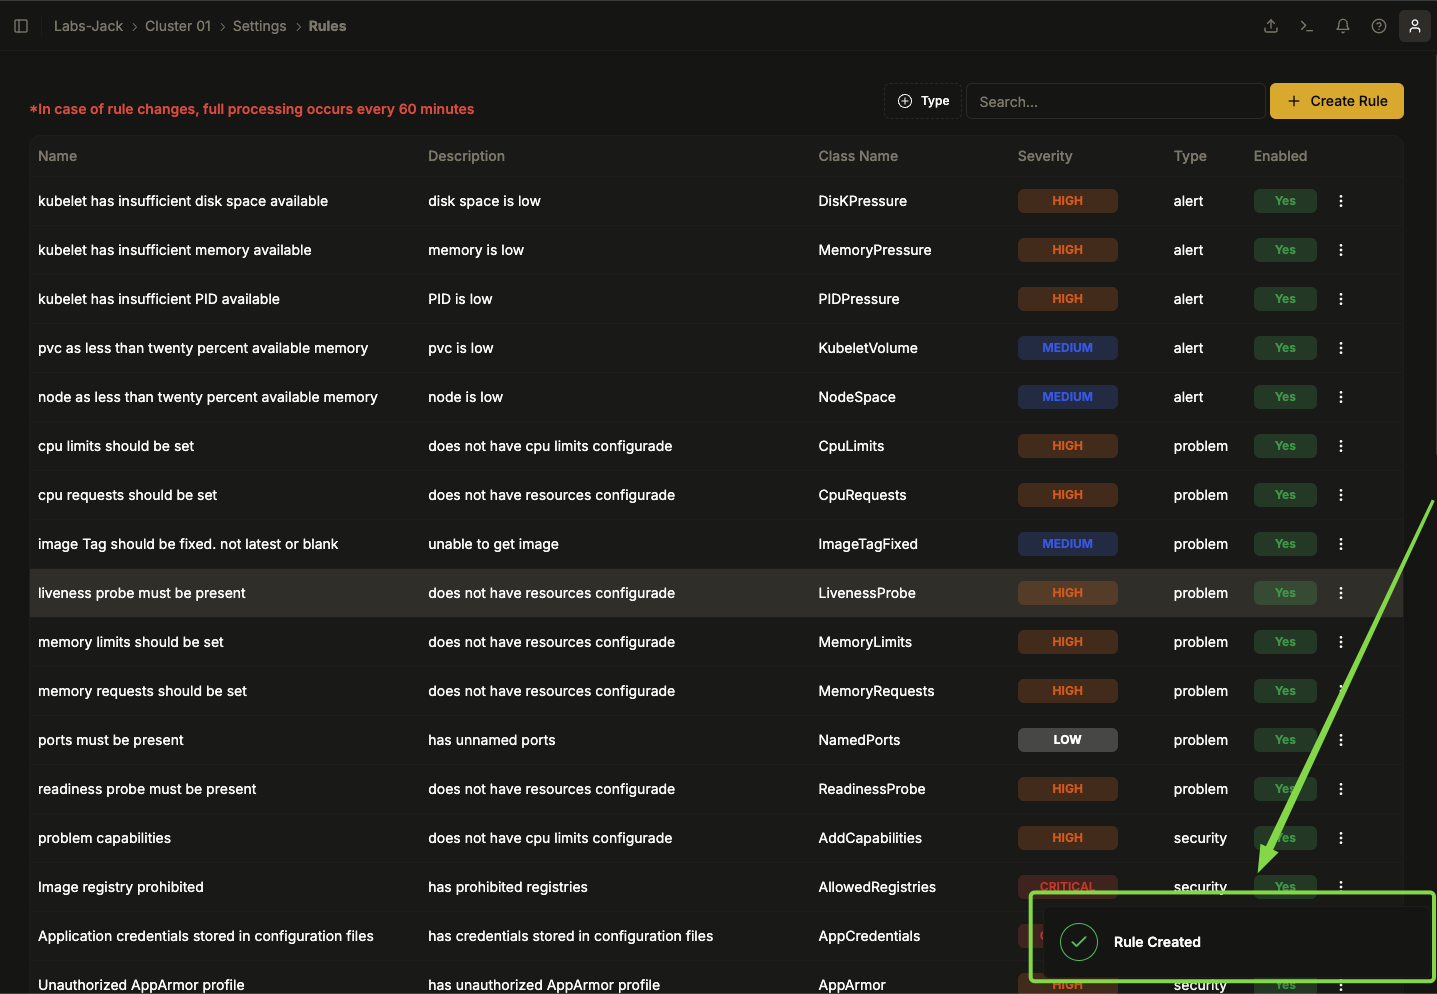
- Wait for the Item Created message, confirming the rule creation.
Image 09: Settings - Message indicating success
Deleting a Rule
- Access Configuration → Rules.

Image 10: Main panel - Cluster
- Locate the rule you want to delete.
- Click on the three dots icon next to the rule.
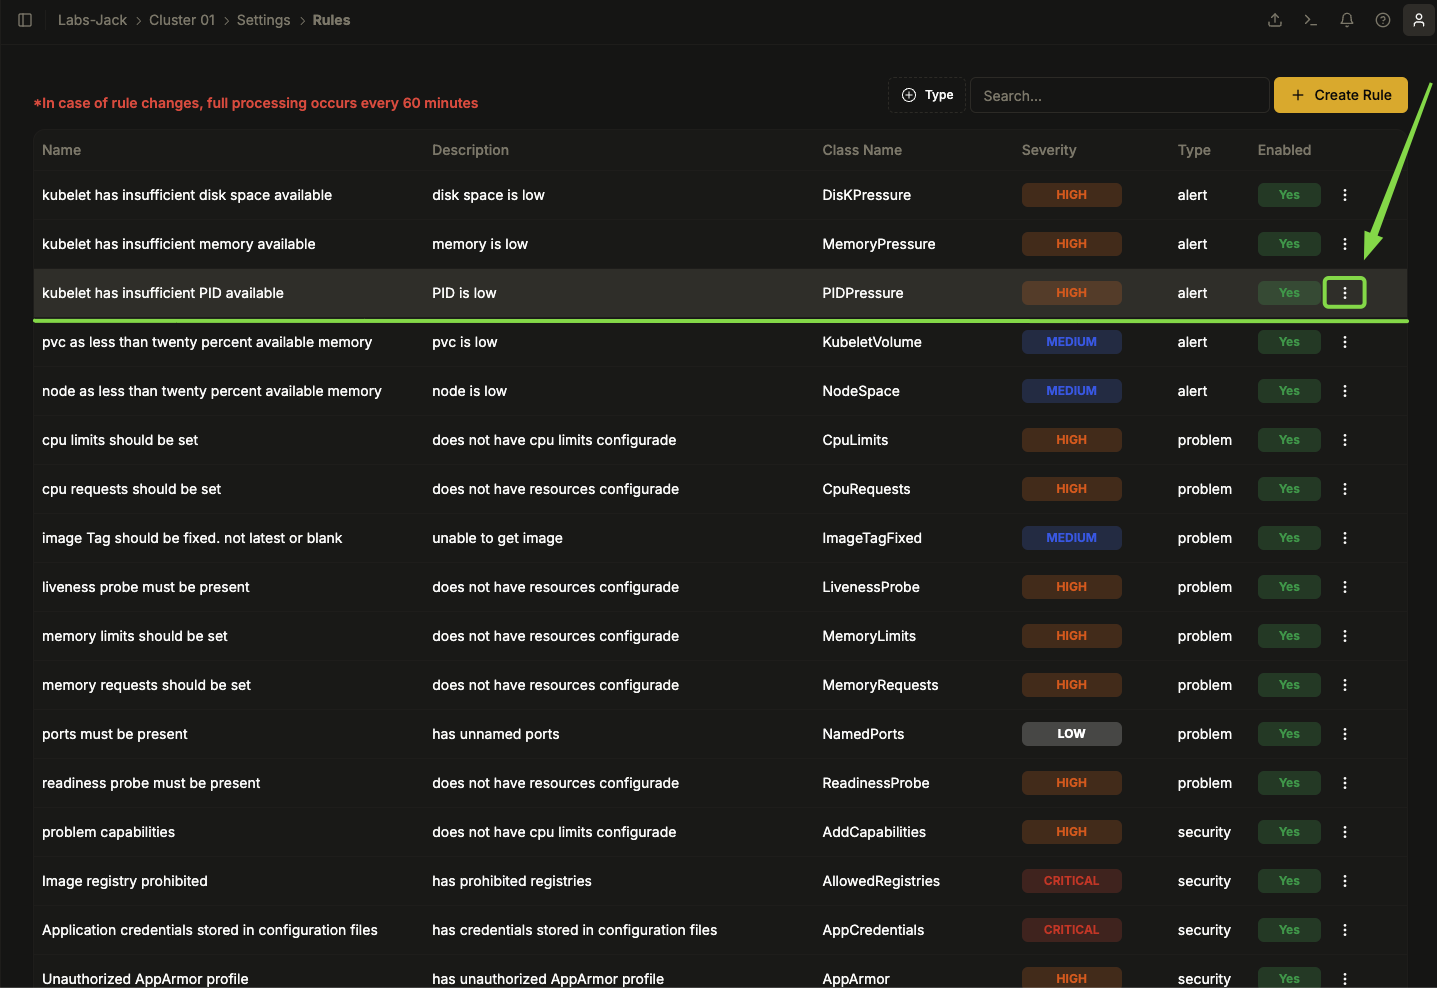
Image 11: Settings - Rule list
- Choose the Delete option.
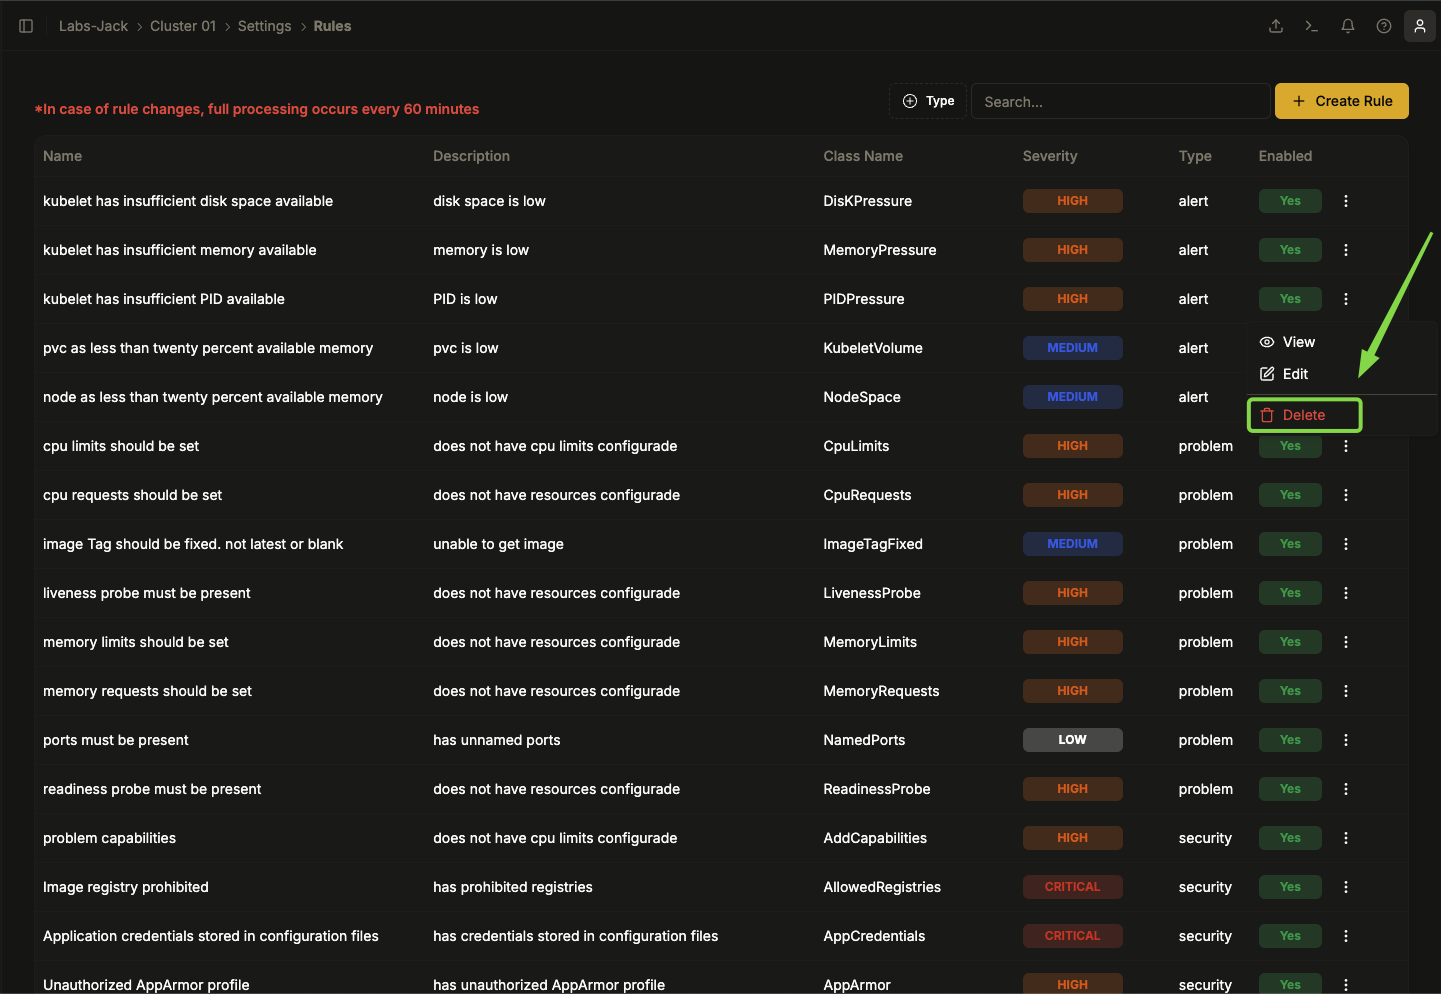
Image 12: Settings - Highlight 'Delete rule'
- After confirmation the rule will be deleted immediately, without additional confirmation.
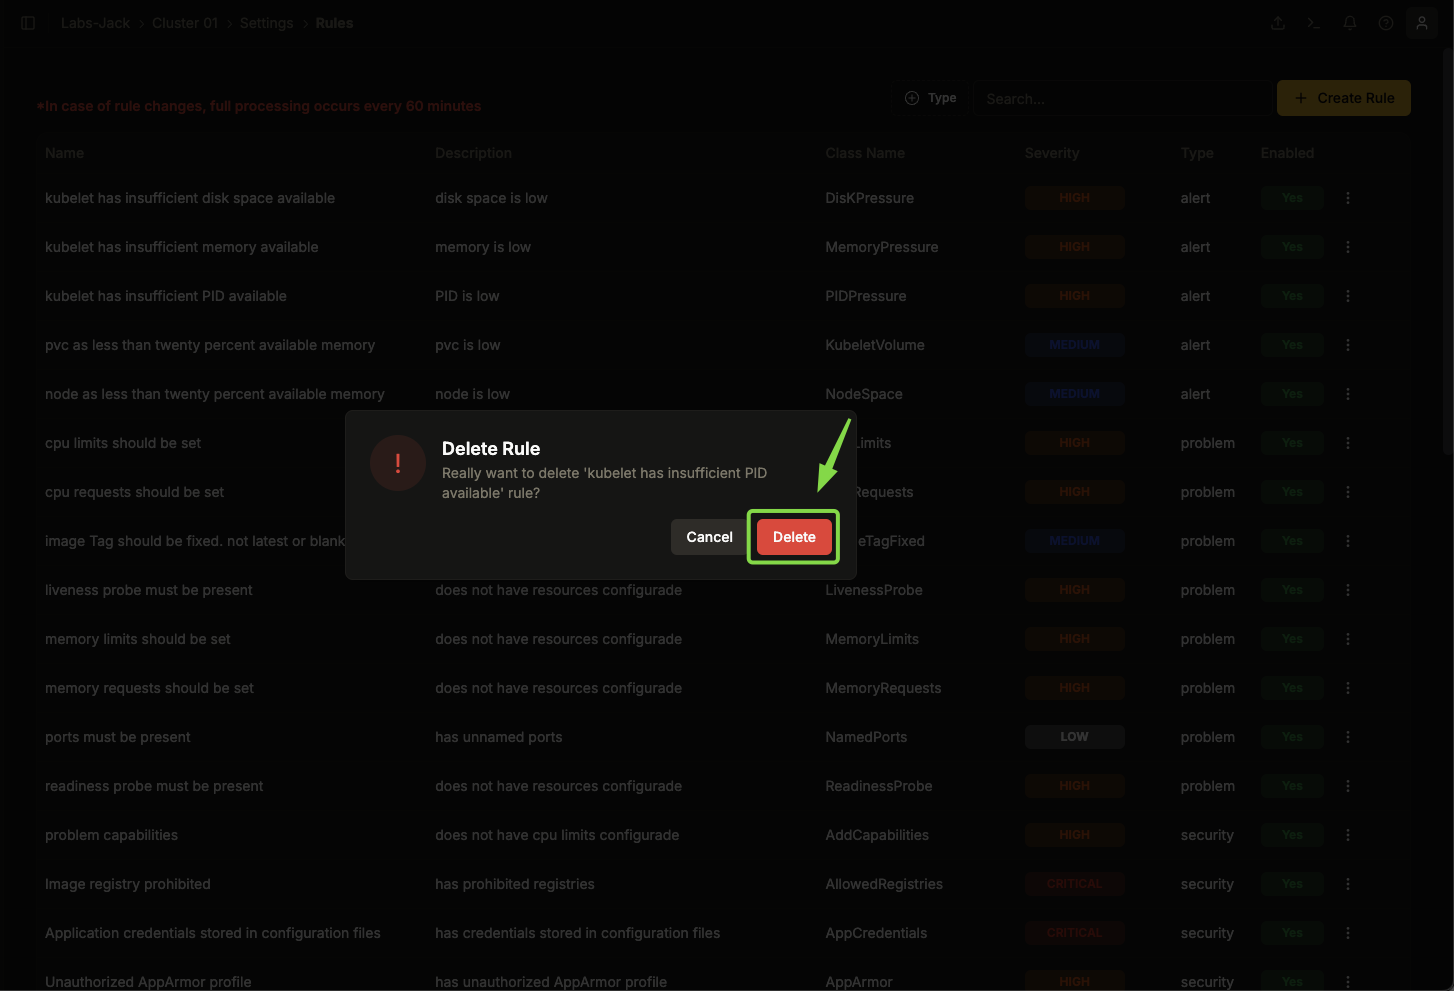
Image 13: Dialog box - Delete rule
Best Practices
- Name the rules clearly and consistently.
- Define severity correctly to avoid irrelevant alerts.
- Review rules before saving to ensure all settings are correct.
- Use appropriate templates to facilitate configuration.
- Be careful when deleting rules, as the action is irreversible.